To activate Embedded Personalization in XM Cloud, it’s essential to establish a Site Identifier. Without it, initiating personalization in Pages isn’t possible.
Here’s how to set up a Site Identifier:
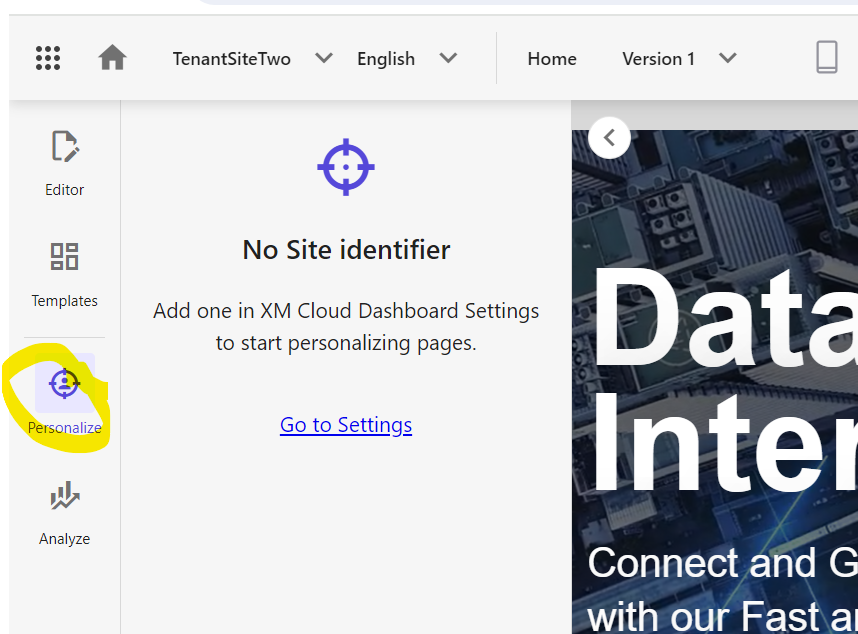
Navigate to your page and select the Personalize option from the left ribbon to activate personalization for the current page. You’ll notice that no site identifier has been assigned yet.
To add a Site Identifier, follow these steps:
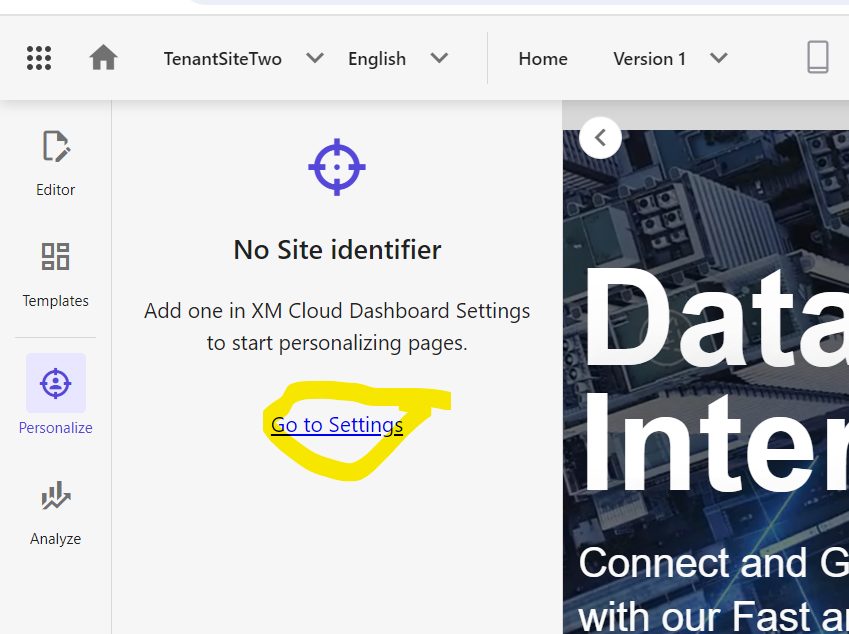
- Click on Go to Settings within the Personalize option.
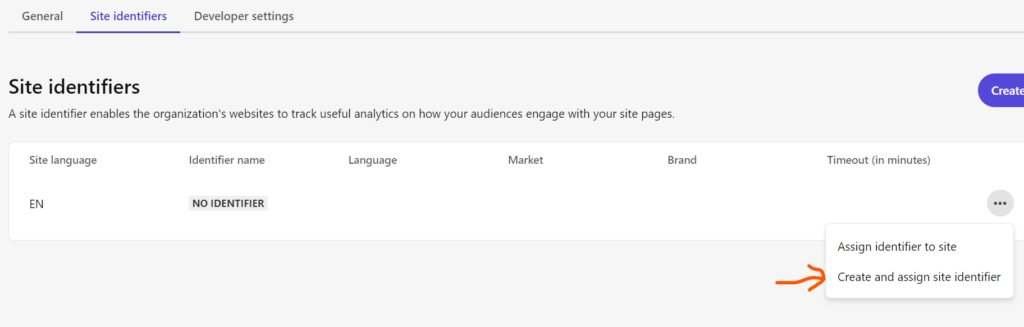
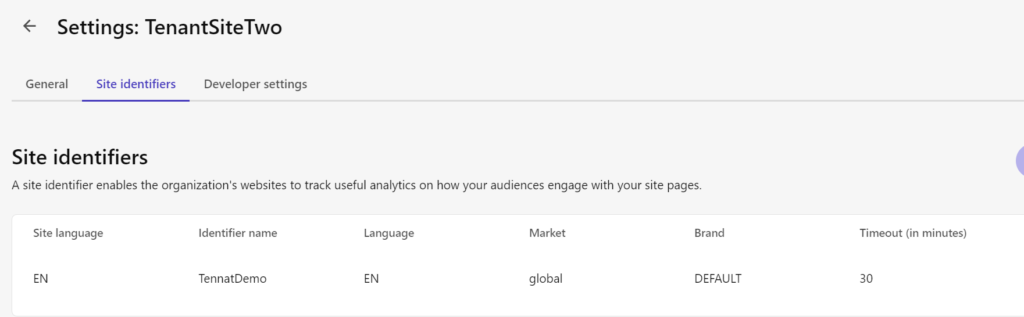
- In the Settings menu, locate the site identifier section. If no identifier is assigned, click on the three dots and select Create to generate and assign a site identifier.
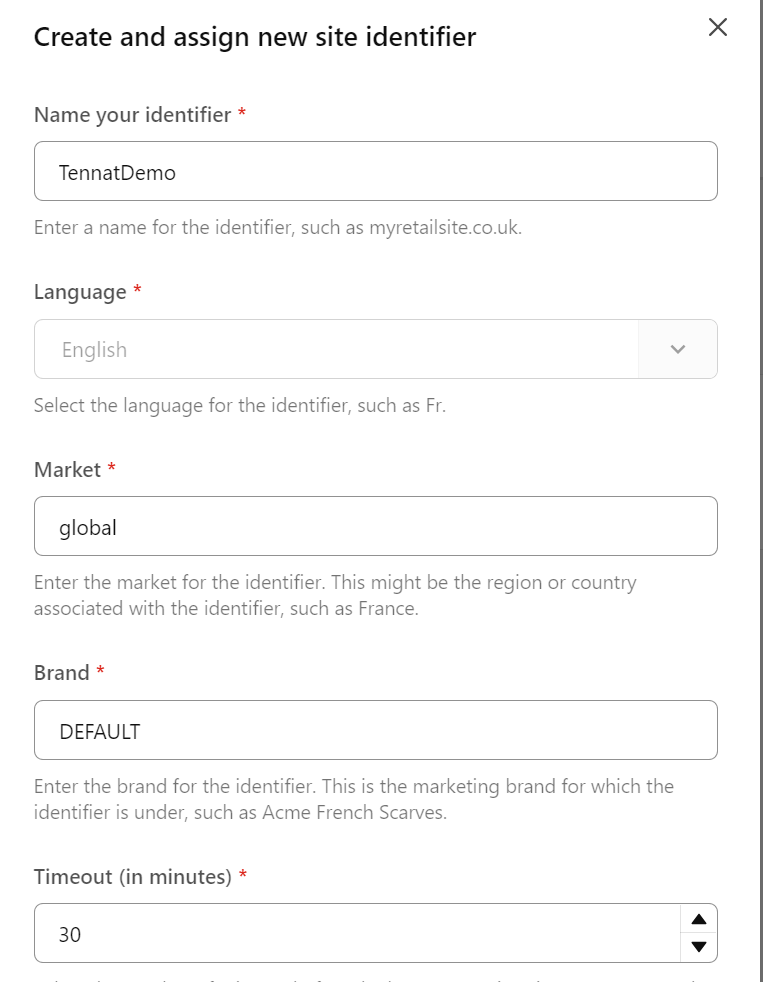
- Name the identifier and provide necessary details in the fields provided, then click Save.
- Now the site has an identifier assigned.
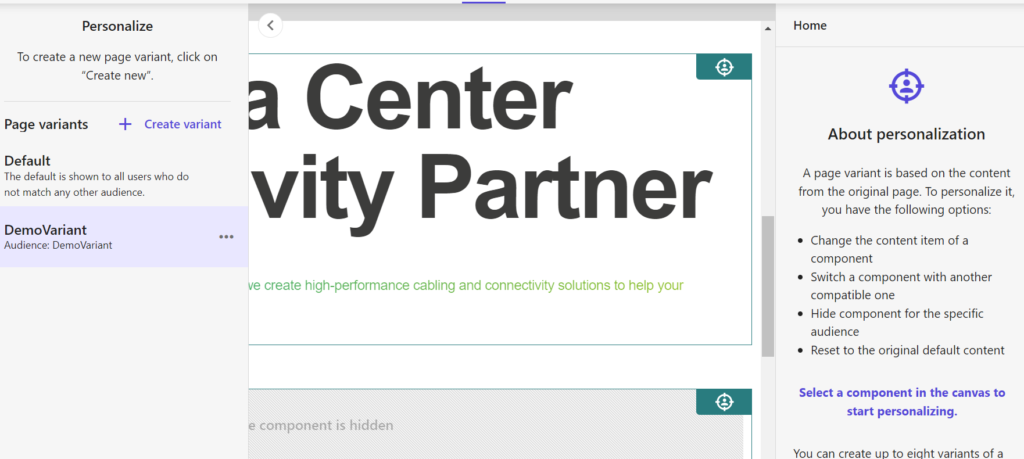
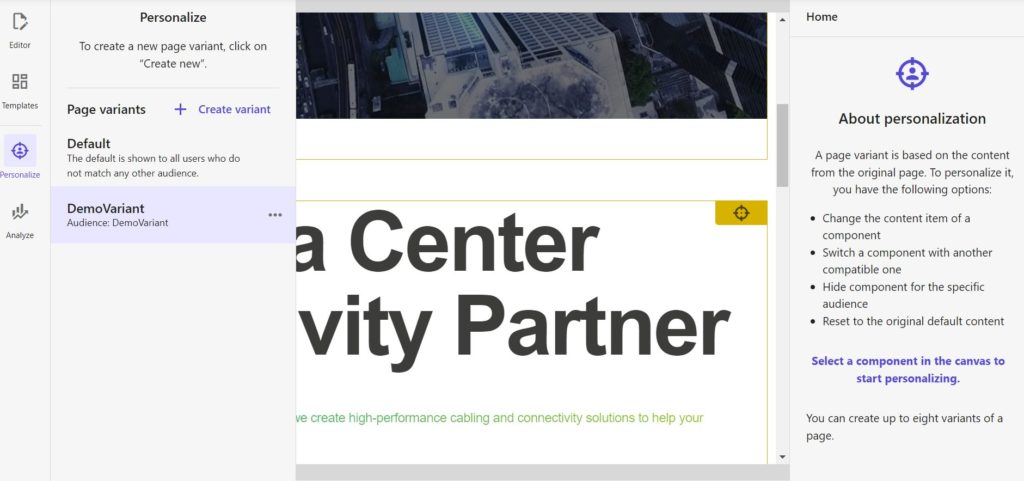
- Once a site identifier is assigned, you can utilize Embedded Personalization functionality. This allows for creating variants and subsequently personalizing page components. A yellow symbol will appear in the upper right corner to indicate that content hasn’t been personalized yet.
- Different content can be assigned to a component, and once personalized, a green symbol will appear to indicate the change.